Data Management
The Data Management feature can be used to import, export, or transfer data. Data Management is CLI-based only, but is partly configured in the admin panel.
Plan: Free feature.
Role & permission: Minimum "Access the transfer tokens settings page" permission in Roles > Settings - Transfer tokens.
Activation: Available and activated if a transfer salt is defined.
Environment: Available in both Development & Production environment.
Configuration
Some configuration options for the Data Management feature are available in the admin panel, and some are handled via your Strapi project's code.
Admin panel settings
A transfer.token.salt should be defined in the config/admin configuration file (see code-based configuration).
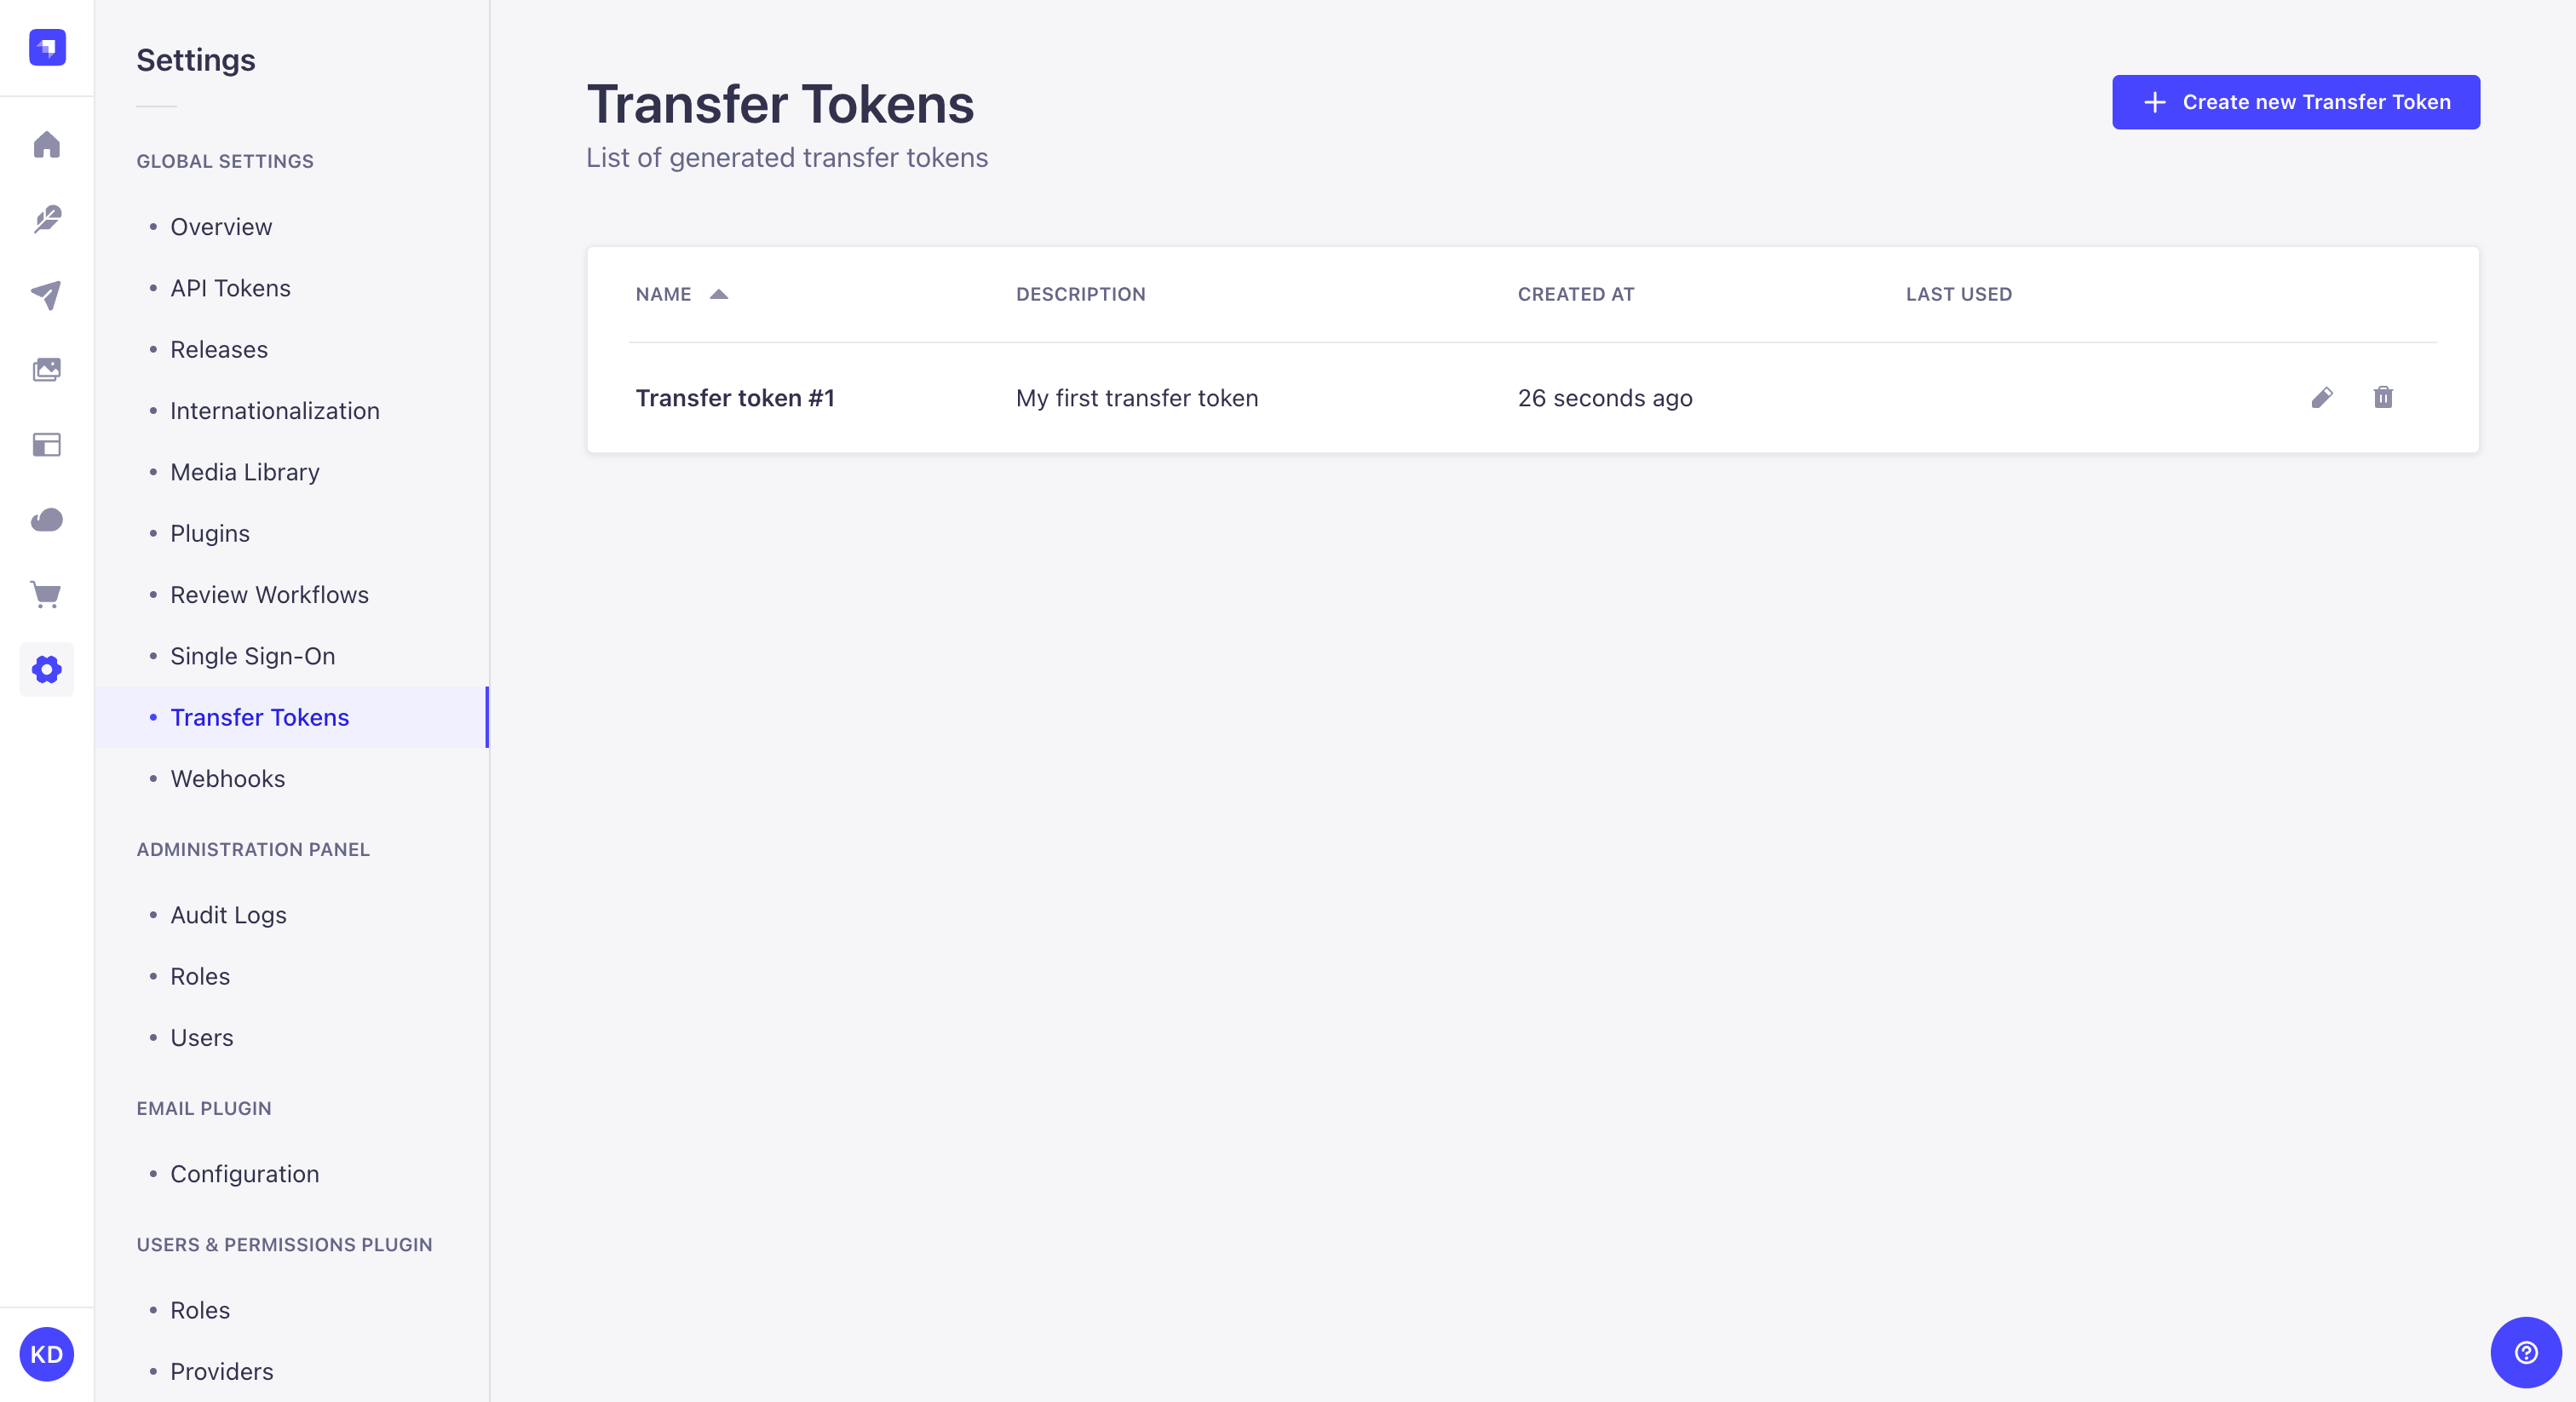
Transfer tokens allow users to authorize the strapi transfer CLI command (see Developer Documentation). Administrators can manage API tokens from Settings > Global settings > Transfer Tokens.


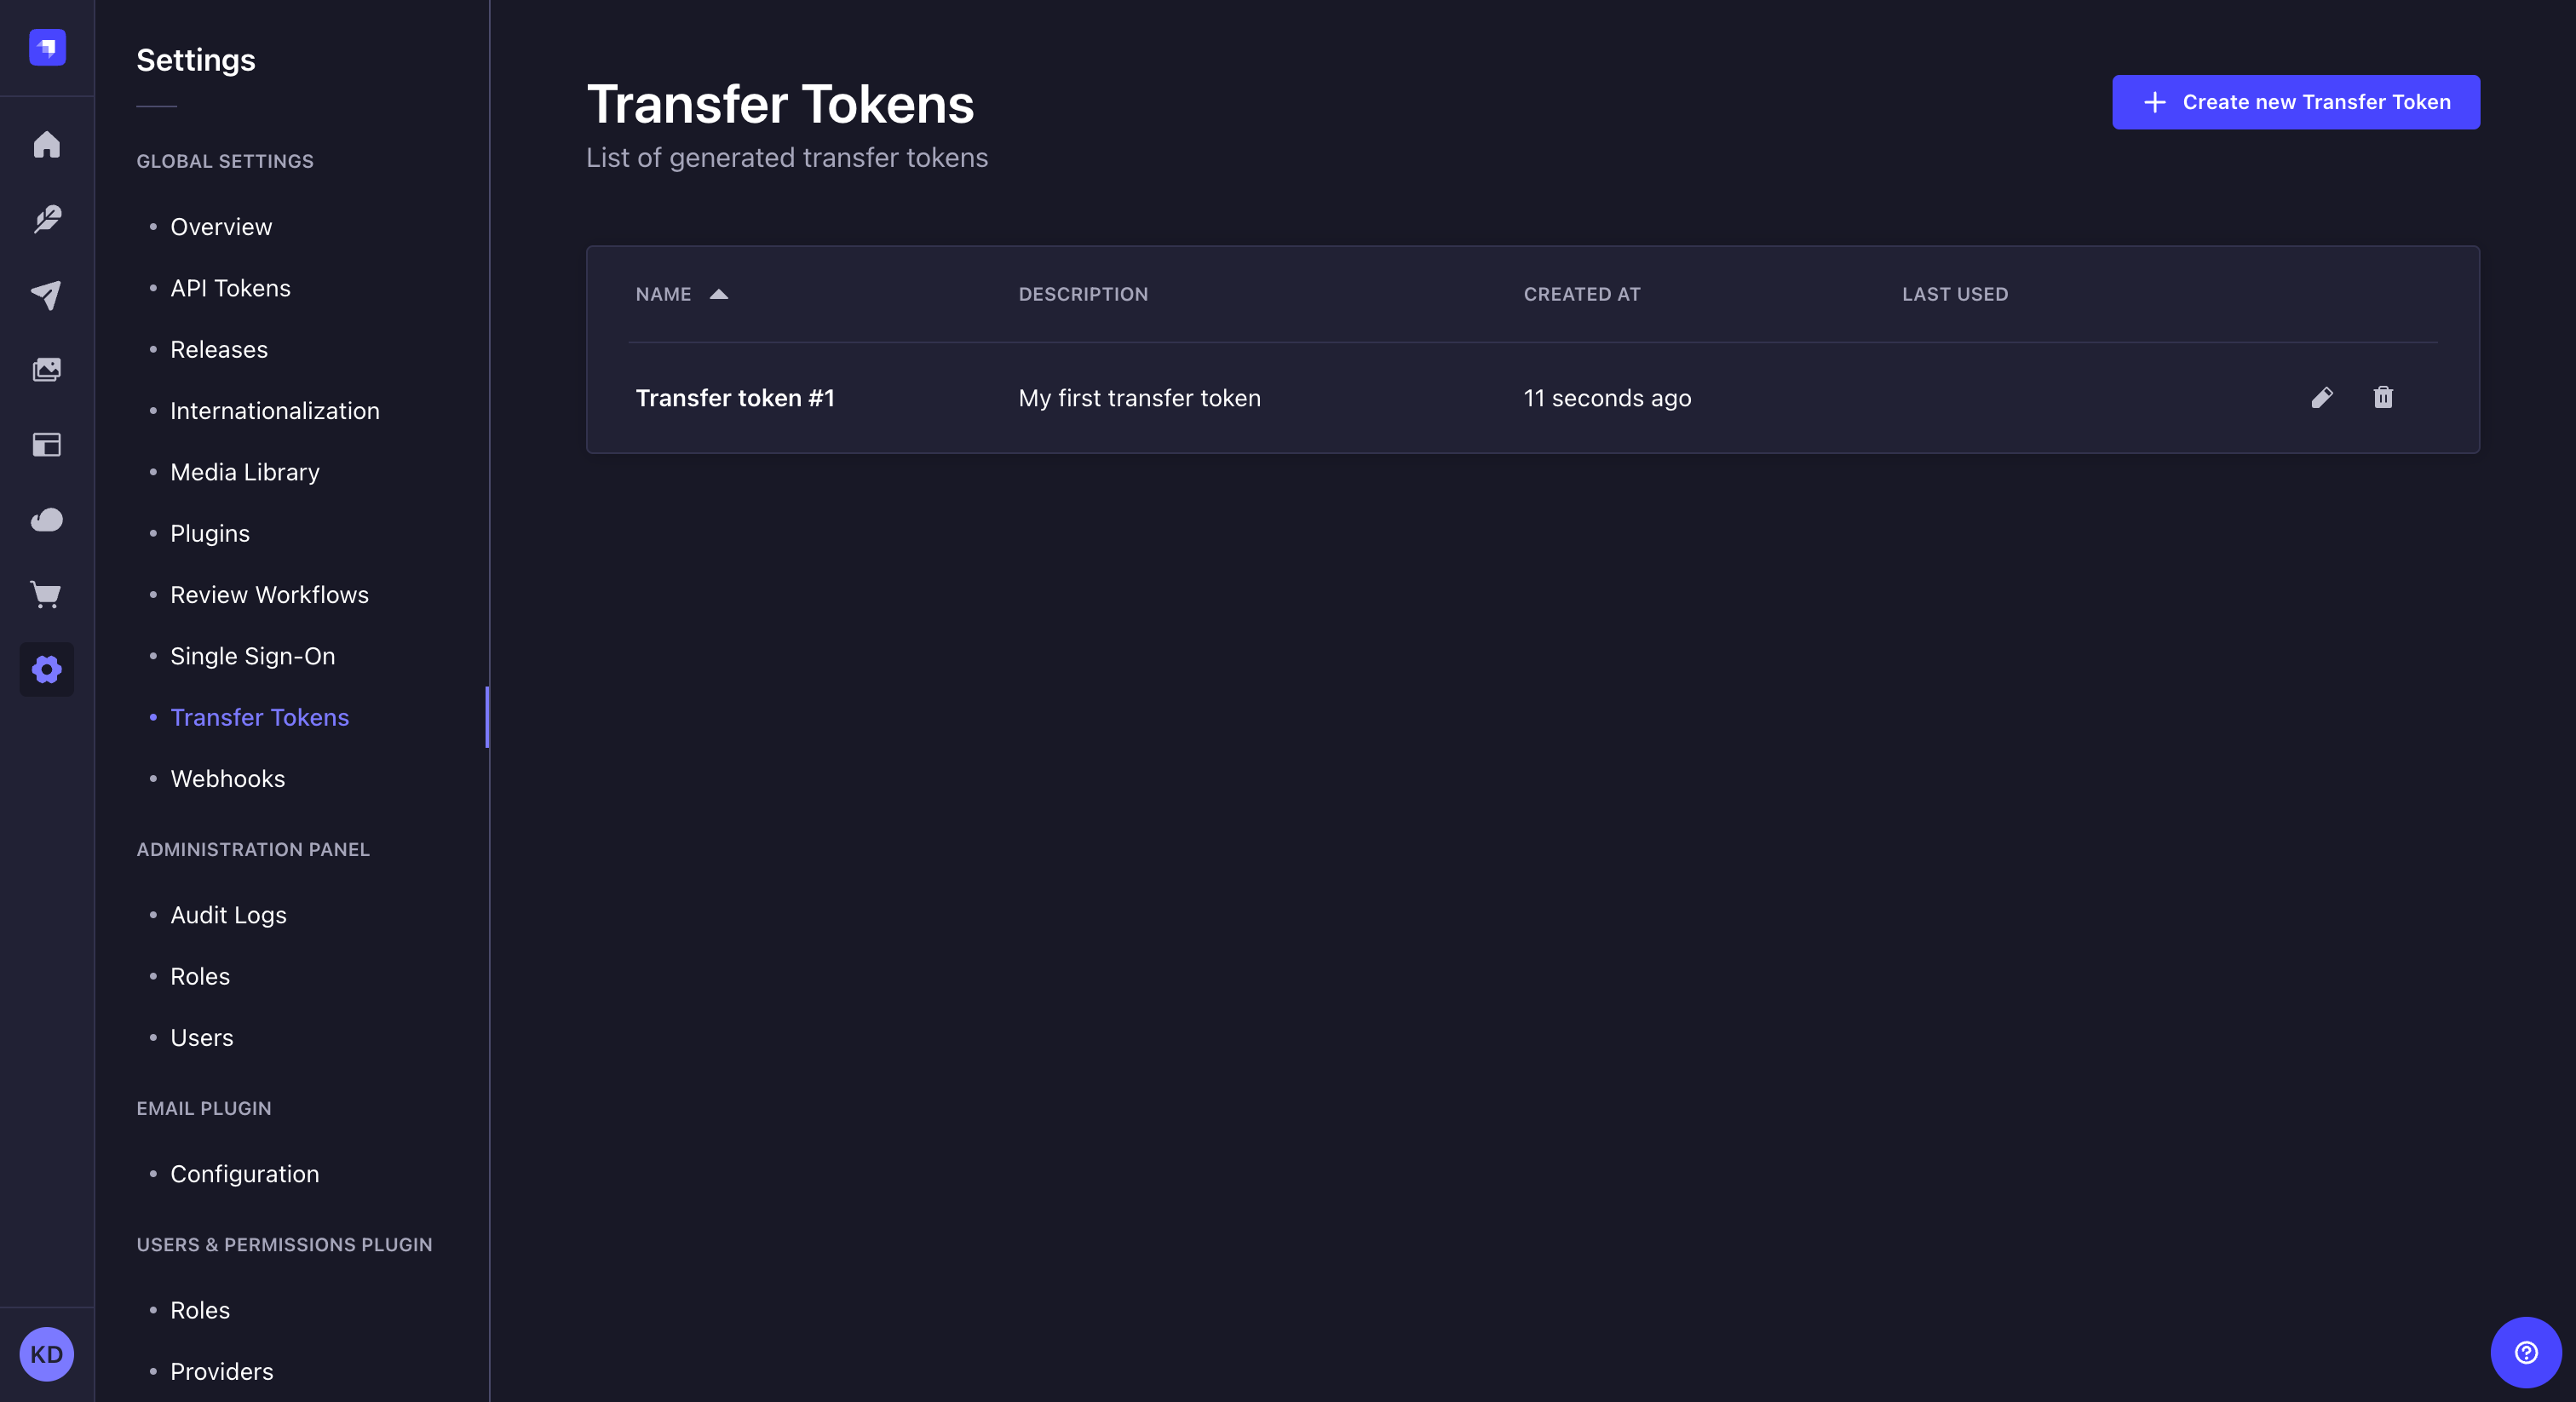
The Transfer Tokens settings sub-section displays a table listing all of the created Transfer tokens.
The table displays each Transfer token's name, description, date of creation, and date of last use. From the table, administrators can also:
- Click on the
to edit a transfer token's name, description, or type, or regenerate the token.
- Click on the
to delete a Transfer token.
Creating a new transfer token
To create a new Transfer token:
-
Click on the Create new Transfer Token button.
-
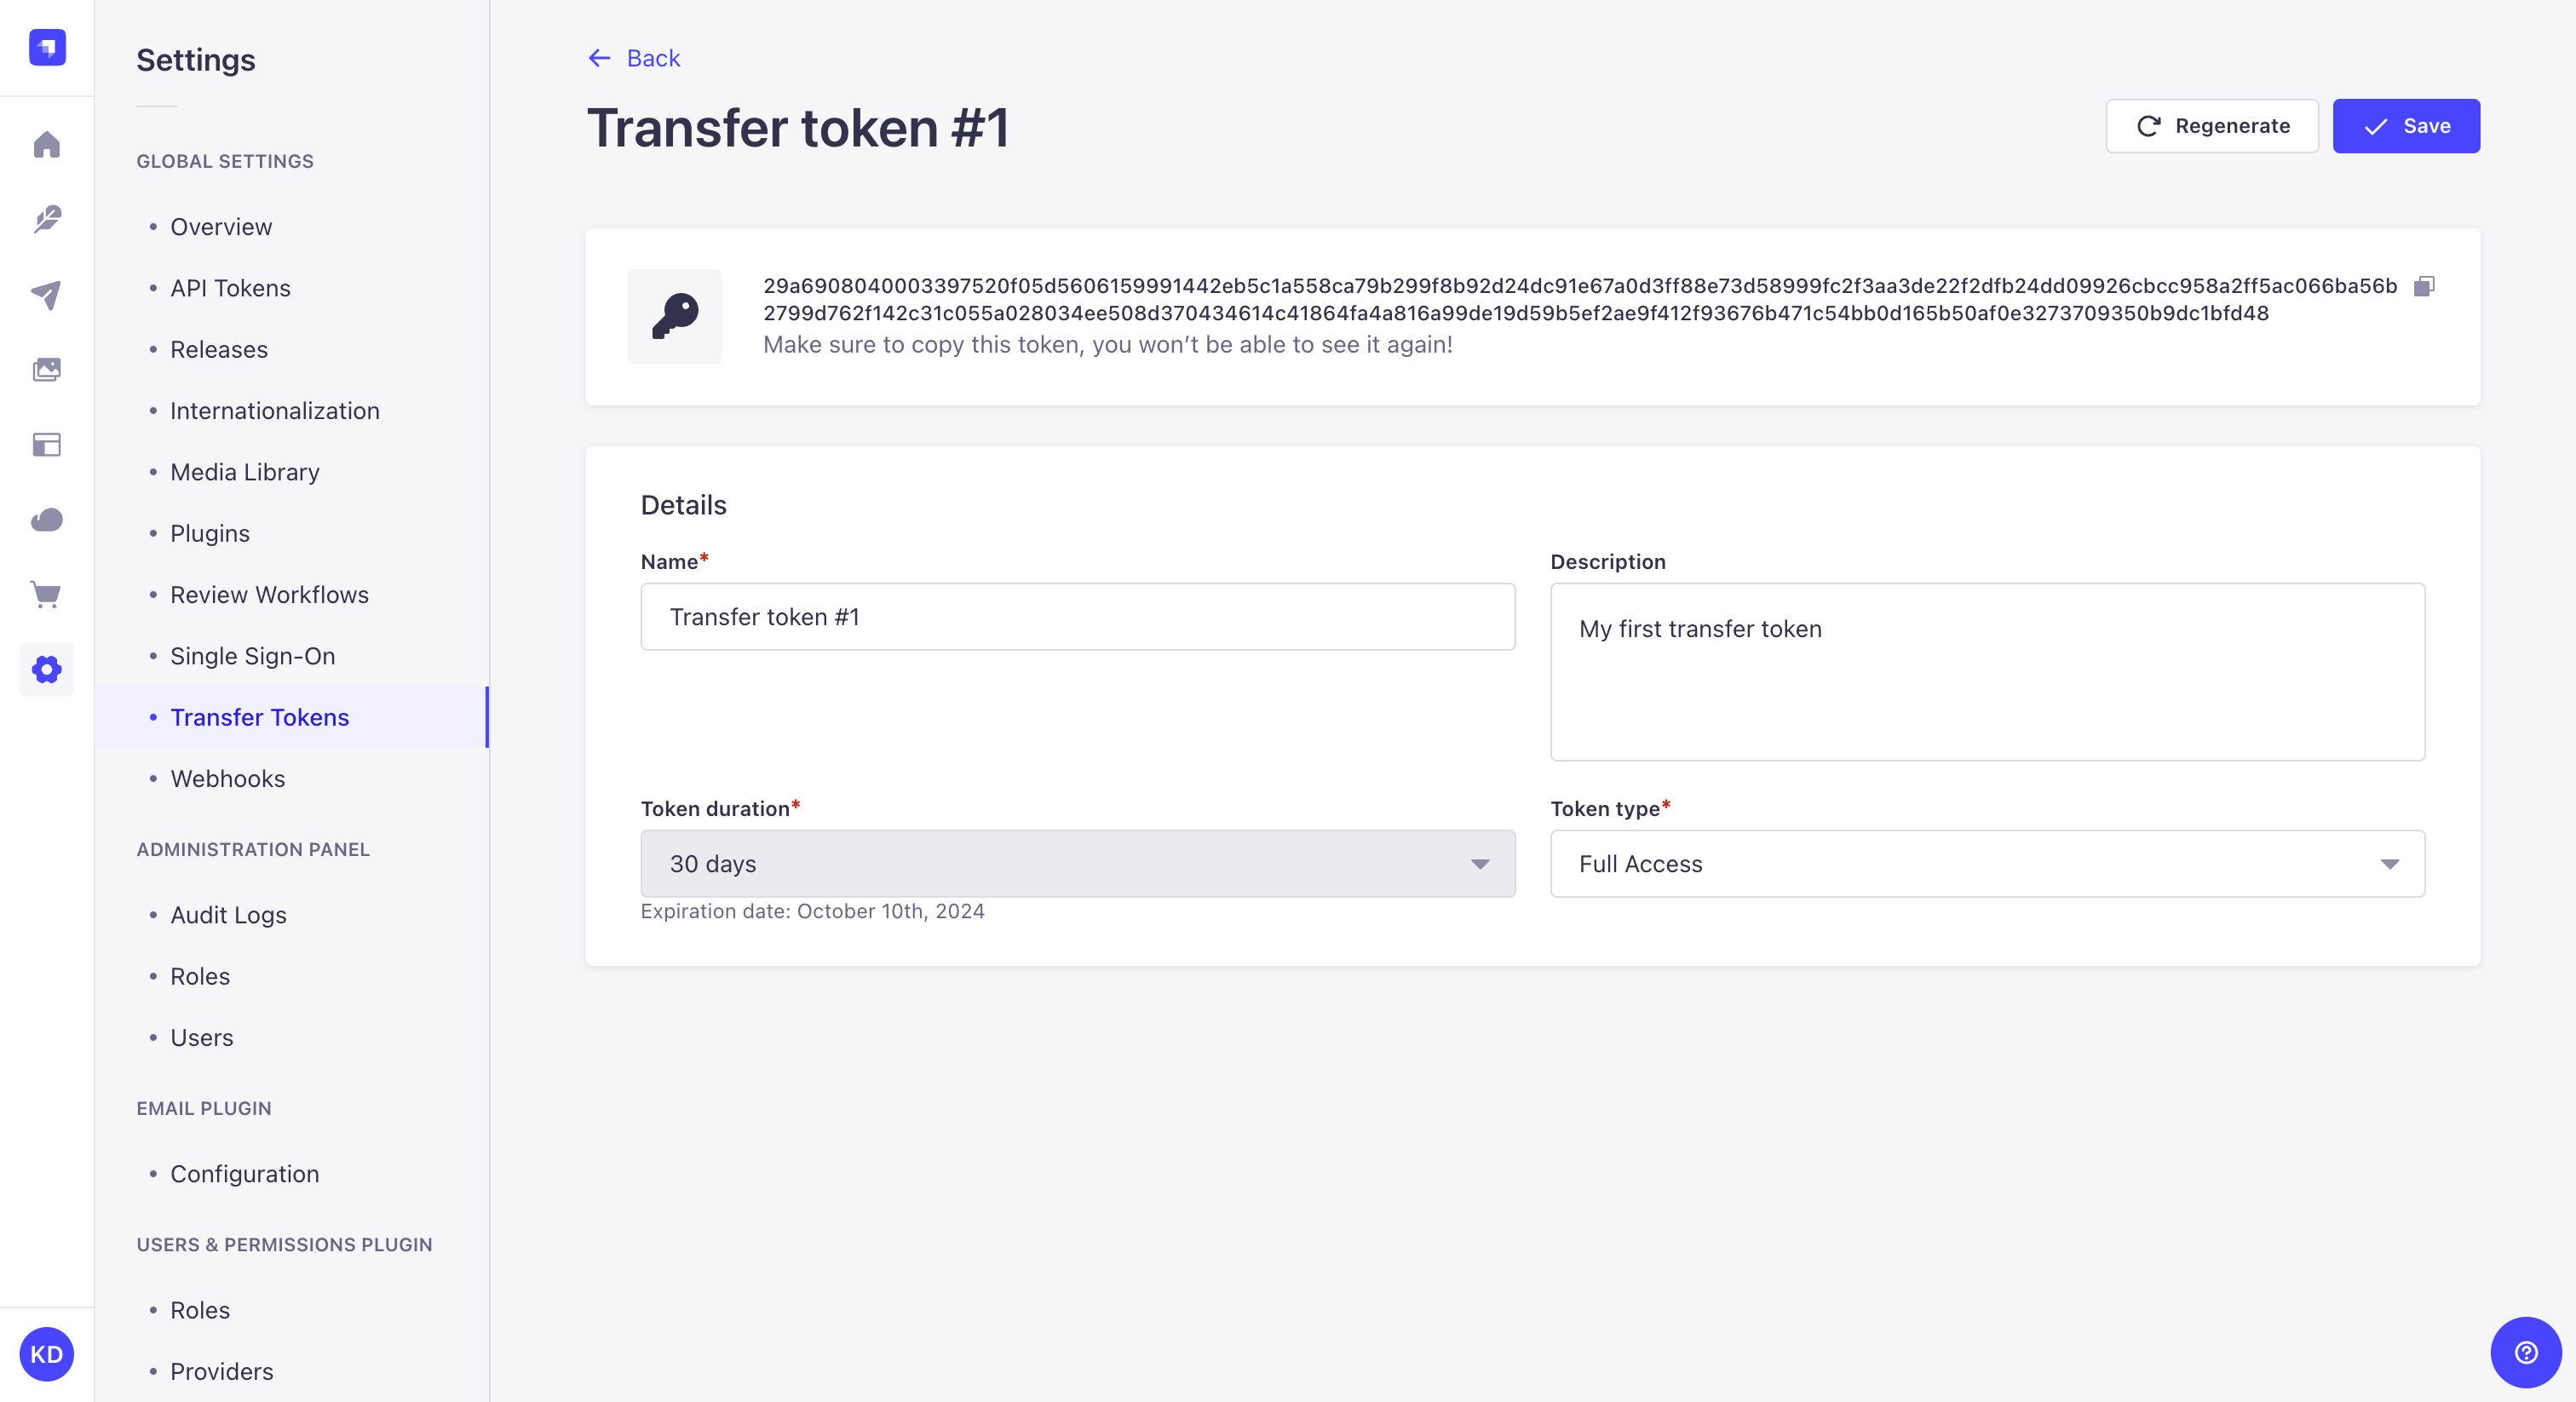
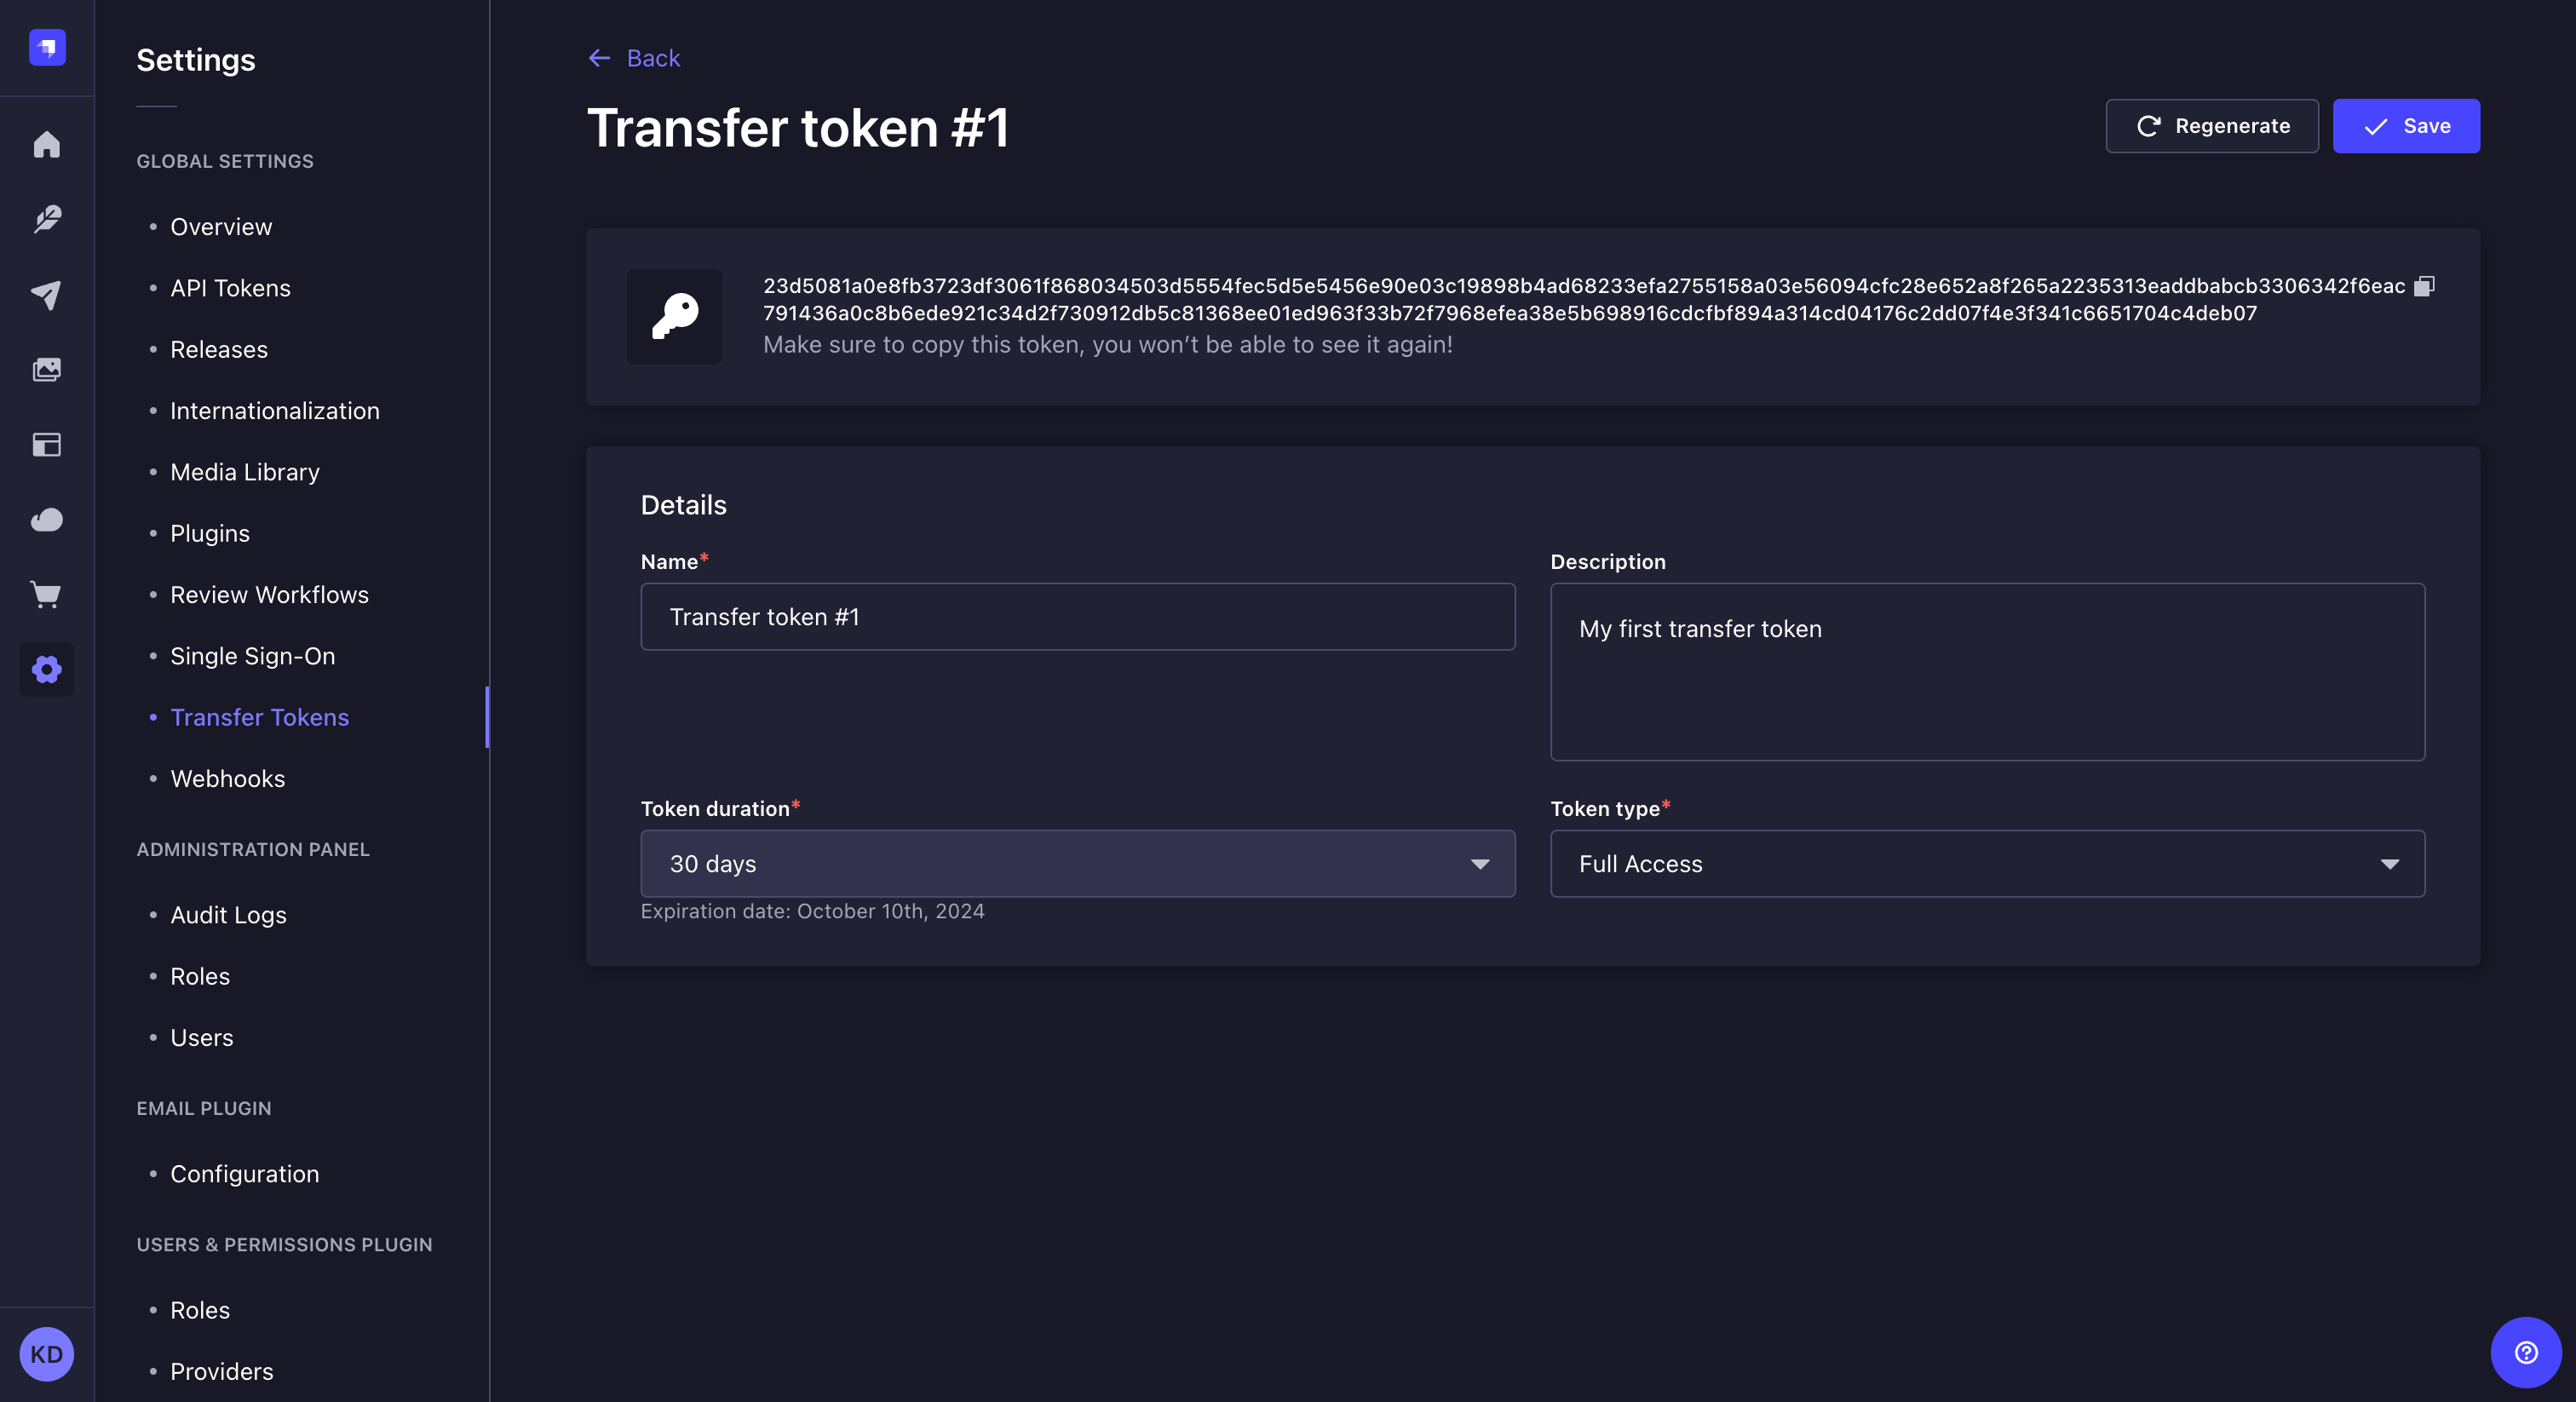
In the Transfer token edition interface, configure the new Transfer token:
Setting name Instructions Name Write the name of the Transfer token. Description (optional) Write a description for the Transfer token. Token duration Choose a token duration: 7 days, 30 days, 90 days, or Unlimited. Token type Choose a token type: - Push to allow transfers from local to remote instances only,
- Pull to allow transfers from remote to local instances only,
- or Full Access to allow both types of transfer.
-
Click on the Save button. The new Transfer token will be displayed at the top of the interface, along with a copy button
.


For security reasons, Transfer tokens are only shown right after they have been created. When refreshing the page or navigating elsewhere in the admin panel, the newly created Transfer token will be hidden and will not be displayed again.
Regenerating a Transfer token
To regenerate an Transfer token:
- Click on the Transfer token's edit button.
- Click on the Regenerate button.
- Click on the Regenerate button to confirm in the dialog.
- Copy the new Transfer token displayed at the top of the interface.
Code-based configuration
A transfer.token.salt value must be defined in the config/admin file so that transfer tokens can be properly generated. If no value is defined, the feature will be disabled. The salt can be any long string, and for increased security, it's best to add it to the environment variables and import it using the env() utility as in the following example:
- JavaScript
- TypeScript
module.exports = ({ env }) => ({
  // …
  transfer: {
    token: {
      salt: env('TRANSFER_TOKEN_SALT', 'anotherRandomLongString'),
    }
  },
});
export default ({ env }) => ({
  // …
  transfer: {
    token: {
      salt: env('TRANSFER_TOKEN_SALT', 'anotherRandomLongString'),
    }
  },
});
Usage
The Data Management system is CLI-based only, meaning any import, export, or transfer command must be executed from the terminal. Exhaustive documentation for each command is accessible from the following pages: